Flair Renderer
Table of contents
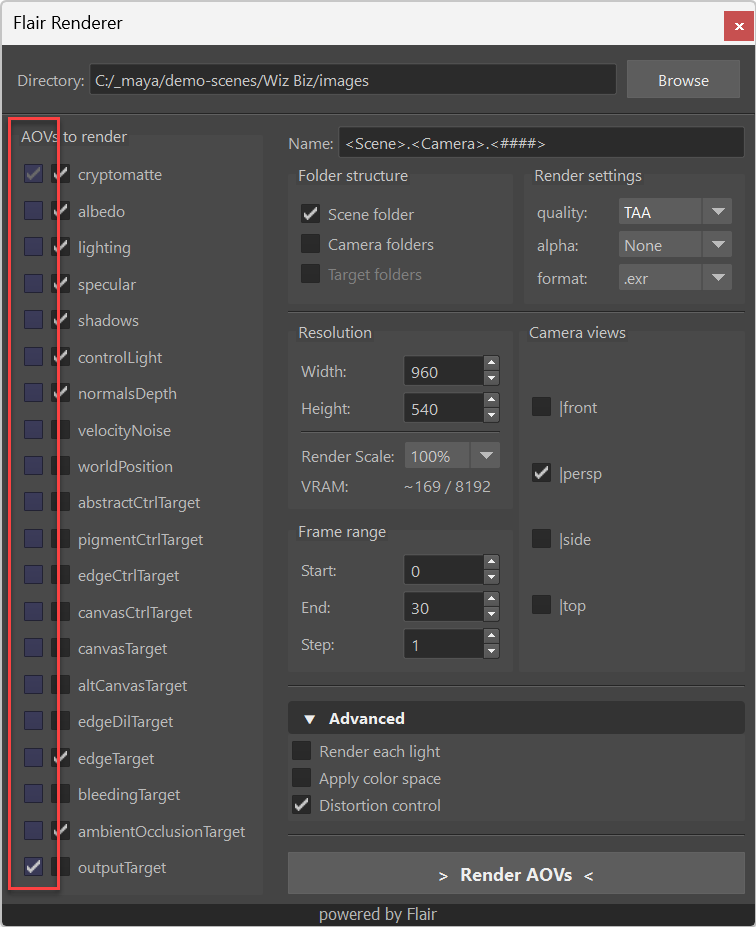
The Flair Renderer is a tool that allows to easily render image sequences and their AOVs. The tool itself is roughly divided into three sections: Directory, AOVs to render and Settings.

Directory
The upper section of the Flair Renderer allows you to specify where the image sequence is going to be saved in. By default, your current Maya project’s directory will be set, but you can define any directory by clicking on the Browse button and navigating to your desired path.
If changed, the specified path will be saved within the scene globals node and be the same the next time the scene is opened.
AOVs to render
The left section outlines all AOVs (targets) available to render. If you wish to learn exactly what data each AOV contains, please refer to the AOV documentation.
By default, all AOVs required to replicate the watercolor shader style in compositing are pre-selected. This allows to have the same stylization in, for example, Nuke and have complete freedom to push the look further in comp. To change the default AOVs that are pre-selected, you can modify the maya/prefs/sequence_renderer.py file.
When rendering multi-layer *.exr images, the outputTarget will always be rendered (it is computed anyways). You can render only the outputTarget by toggling it in the list, which disables all other targets automatically.
AOVs containing non-color data should be exported as .exr to preserve the entire data contained in the AOV.
Settings
The right section of the Flair Renderer allows you to define all render settings.
Name
By default, the name is set by tags in the following way: Scene.Camera.Frame.ext. You can edit and customize the name any way you want, either with tags or normal characters. If the scene is not named, Unnamed will be used as the scene name.
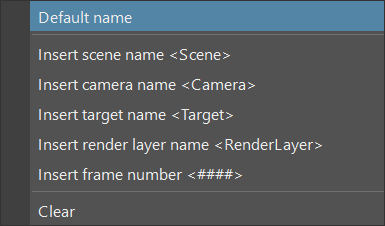
You can right click on the line edit to go back to the default name, insert supported tags or clear the name entirely when needed.
If changed, the specified name will be saved within the scene globals node and be the same the next time the scene is opened.
Folder structure
The folder stucture defines the folders that will be created within the directory. By default, only a scene folder will be created. Additional folders can be created, if desired, for each camera and target (AOV) that you render. When all are enabled, the hierarchy will look like this directory/scene/camera/target/image.ext.
When rendering .exr images, the ability to render onto target folders will be disabled as all AOVs are bundled into one image file.
Render settings
The render settings customizes the quality, alpha and format of the image sequence.
- Quality - Defines the quality of the viewport rendering, either standard or with TAA.
- Alpha - Defines how the alpha (transparency) is handled in the rendered frames. The options are None (no alpha), Linear (linear alpha) and Premult. (premultiplied alpha).
- Format - Defines the image file format to save the image as i.e., .png, .jpg, .exr, .tif, .iff.
When rendering the cryptomatte AOVs, only the .exr image file format will be available.
Resolution
The resolution defines the resolution to render with.
- Width - The target horizontal resolution to render in pixels
- Height - The target vertical resolution to render in pixels
- Render Scale - The render scale to render with, from 50% to 200% of the specified Width and Height. The current maximum resolution is of 16384 pixels, but keep in mind that your graphics card might not have enough VRAM to support extravagant resolutions.
- VRAM - A rough VRAM estimate required to render the images.
By default, the render resolution is grabbed from Maya’s Render Settings and set back accordingly if changed within the Flair Renderer.
Frame range
The frame range sets the Start and End frames of the sequence to be rendered. By default, the frame range of the timeline is set. The Step value tells Flair to render only every X frames within the frame range.
Camera views
Camera views outlines the available cameras in the scene and allows you to select from which camera you want to render the sequence through. By default, all cameras set as ‘renderable’ in Maya’s Render Settings will be pre-selected and changed accordingly from the Flair Renderer.
Advaced
The advanced settings can be toggled on-demand by clicking on it.
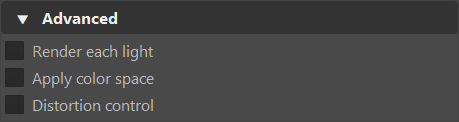
Render each light
Render each light will render selected AOVs for each available light. This is useful when you want intricate lighting control in comp. However, make sure to only render the targets that get affected by different lights to avoid saving duplicate AOVs.
Apply color space
Applies the color space of the viewport onto the rendered image. Supported color spaces are Raw, sRGB gamma, 2.2 gamma, Rec 709 gamma or 1.8 gamma. If color space is not applied, the resulting colors will be the same as in the Raw color space.
When rendering the outputTarget, keep in mind that image formats that default to linear color representations such as .exr and .tif won’t show the applied color space until it is set afterwards. If you don’t apply the color space to them, the color space will be baked in its linear format (caution with this).
Distortion control
Toggles the distortion control for all available AOVs to the left of the AOV checkboxes.
AOVs set as distorted have TAA, geo/wobble blur and other distortions applied to them. To define which AOV distortions are checked by default, you can modify the sequence renderer preferences: maya/prefs/sequence_renderer.py
As each AOV contains different types of data, the most suitable blending option will be applied to them. However, this can still be overwritten by forcing alpha/linear blending onto them on the sequence renderer preferences or directly through the batch rendering script.
Render AOVs
The Render AOVs button will start rendering the target sequence with the settings you specified. You can cancel the sequence render anytime by hitting on cancel within the render progress dialog.