Flair Globals
Table of contents
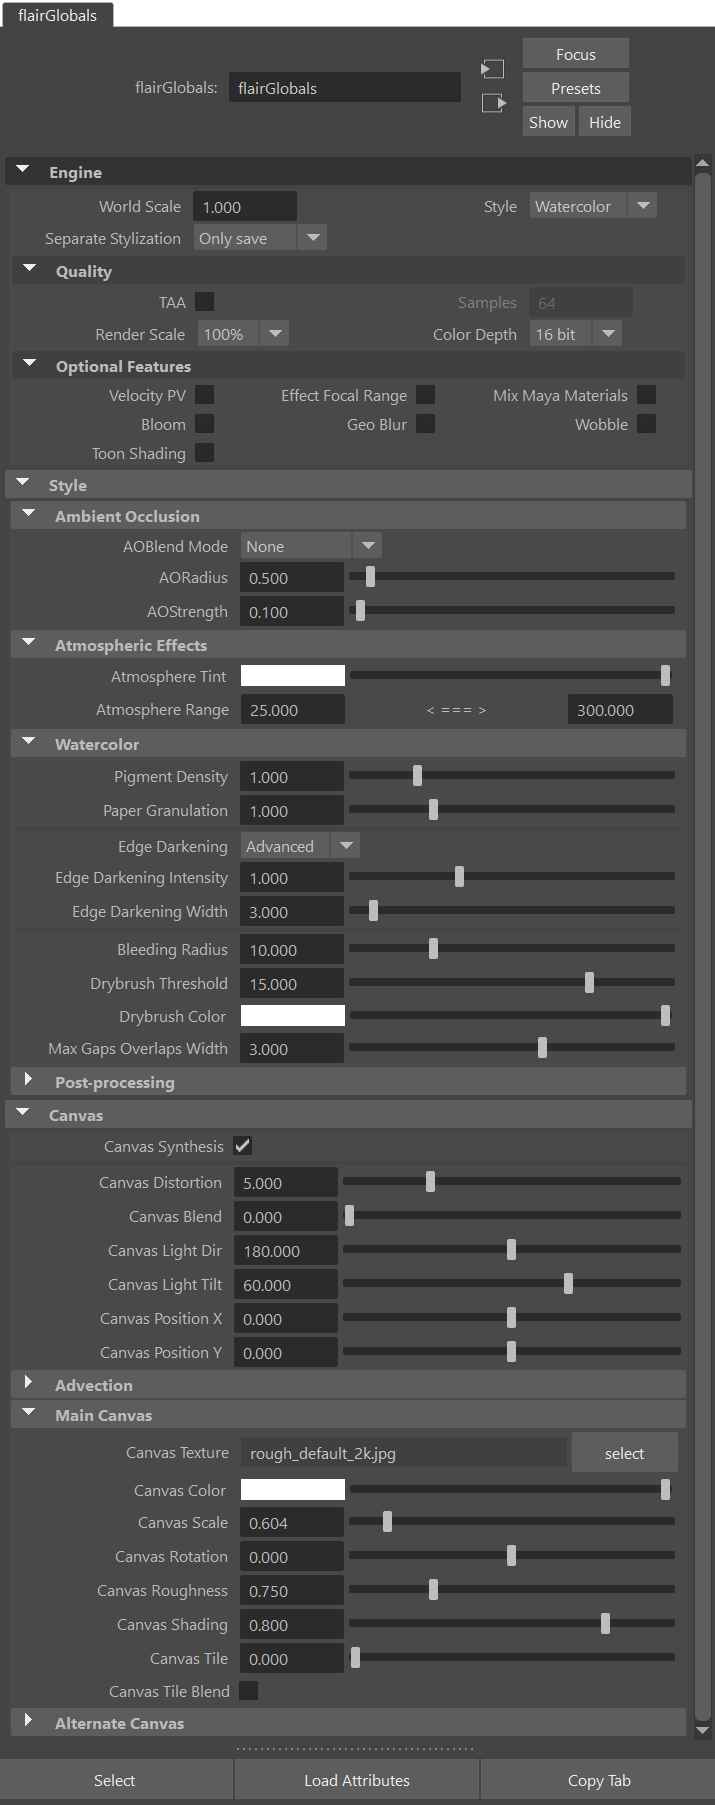
The Flair Globals node gets selected after clicking on the GLOB icon in the Flair shelf and looks somewhat similar to the figure below—depending on the active style. This node contains every global parameter available in the active style and each value is usually applied over the entire image.
It is imperative to understand what each attribute does and how it affects the style, but it is also fun to simply experiment with them and make happy accidents. The attributes in the style configuration node are separated into three groups: Engine, Style and Canvas.
Video tutorial
Engine
Engine attributes remain the same across styles and contain attributes directly related to the Flair engine. These attributes can change the behavior, fidelity and performance of the stylization or toggle optional features.
World Scale
How many Maya units is considered one “meter” in the virtual world. Since most projects work with assets at different scales, setting up the World Scale right will help the style behave correctly.
Example: if your character is supposed to be one meter high in his world, but is actually 5 units high in Maya, the World Scale attribute should be set to 5.
Style
The style that Flair is currently running in.
- Graph - The Flair Graph style (customizable)
- Watercolor - The Watercolor shader style (default)
- Cutout - 3D Cutout shader style
- Hatching - Hatching and stippling shader style
- Warp - Warp shader style
- Fray - Fray shader style
- Lines - Toon and sketch lines shader style
Separate Stylization
The option to save the stylization (art-direction) of the scene concurrently in a separate file.
- No - The stylization will only be saved with the scene
- Yes, only save - The stylization will be saved with the scene and in a
*.stylefile next to it (default) - Yes, save and replace - The stylization will only be saved in a
*.stylefile and be automatically applied upon opening the scene
When applying VertexFX onto referenced assets, Flair will automatically ask if you wish to only save the stylization in a separate file, instead of in the Maya scene (“Yes, save and replace” option). This is recommended, because if the stylization is saved with the Maya scene, the file size will be orders of magnitude bigger than it should be and may even not open anymore.
Quality
Contains the quality-related global attributes within Flair.
TAA
Renders many images with Temporal Anti-Aliasing to perform progressive, super-sampled results. Because of this, the rendered results will have more detail and less jaggies (staircase effect). Enabling TAA will also enable the Samples attribute to the right.
Anti-aliasing makes edges appear smoother and less pixelated, you can find more about what aliasing is here.
Samples
The amount of image samples that the TAA uses to create the final result. Default is 64, but you can also get acceptable results rendering less samples.
Render Scale
Renders at different resolution scales.
- 50% renders at half the normal horizontal and vertical resolution and can be useful when working in monitors with ridiculously high resolutions or weaker GPUs.
- 100% is the normal rendering resolution
- 150% renders at 1.5x horizontal and vertical resolution, bringing out more detail without impacting performance too much.
- 200% renders at double the horizontal and vertical resolution, lifting up the quality substantially, but also quadrupling the amount of pixels that need to be rendered and stored (VRAM).
Color Depth
The color depth of most render targets. This generally translates to: higher is better. However, slower systems should consider using 8bit targets if the performance is too slow, provided you can sacrifice some color fidelity.
Optional Features
Velocity PV
Enables the calculation of motion vectors of each object in the scene (per vertex). This helps certain effects to remain motion coherent and avoid the shower door effect.
Velocity PV does NOT work with subdivided previews (3 on the keyboard), as vertices won’t be in the same place. Consider subdividing the required objects with normal geometry instead.
Effect Focal Range
Creates the effect focal range locators in the scene. These locators allow you to define the center of interest and an effect factor at the front and back. Based on these factors, effects that support this (i.e., watercolor bleeding) will be reduced or increased at different distances from the effect focal point.
These locators can also be constrained/parented to a camera to have the front and back factors relative to the distance to the camera.
Mix Maya Materials
Enables to properly mix Flair materials with Maya materials, at the cost of some performance. Without this option, you will see Flair effects from background objects being applied on top of Maya materials, which might not be desired.
Bloom
Bloom, sometimes also referred to as Glow, leaks light from bright areas into surrounding areas. By enabling bloom globally, the following controls will appear in the globals node.
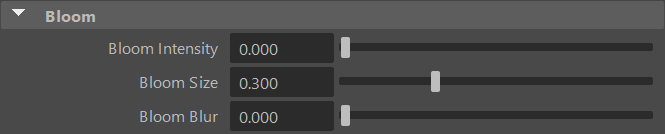
Bloom intensity
Defines the intensity/amount of the bloom effect.
Bloom size
Defines the threshold at which a pixel is bright enough to be considered for the bloom effect.
Bloom Blur
Defines the radious of light leakage to the surrounding areas.
Learn more about how bloom works by watching the clip below.
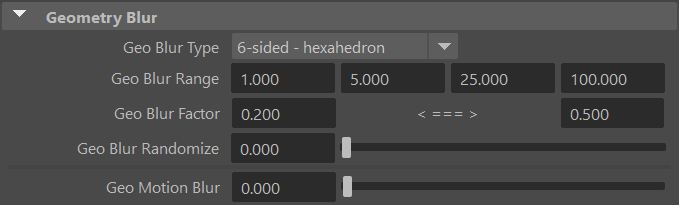
Geometry Blur
Geometry blur deforms geometry in the shader for each TAA sample. When accumulating all these deformations, objects and all their effects will appear blurred out, as the repeating patterns overlap each other to abstract their original form.
Enabling this attribute will show the Geometry Blur controls in the globals node (see below).
TAA needs to be enabled to show this effect.
Geo Blur Type
Geometry blur can be deformed according to different volumes represented by regular polyhedrons (platonic solids).
- 6-sided - hexahedron - deforms each vertex along 8 offsets in a “cube” pattern
- 8-sided - octahedron - deforms each vertex along 6 offsets in a “diamond” pattern
- 12-sided - dodecahedron - deforms each vertex along 20 offsets
- 20-sided - icosahedron - deforms each vertex along 12 offsets
If this sounds too confusing, just pick the one that you think looks best.
Geo Blur Range
The depth range at which geometry should be deformed (blurred) in the scene. This attribute consists of four (4) values that define the different distances from the camera to deform. From left to right: Close, Close Mid, Far Mid, Far.
Between the Close Mid and Far Mid distances, no deformation will take place and objects will be sharp. Beyond these distances towards the Close and Far depths, the geometry will be deformed by the Geo Blur Factor, which is defined below.
The distances are relative to the World Scale global. For example, if the world scale is of 100, a 1000 Maya unit distance will be 10 (1000/100). If the world scale is 1, a 1000 Maya unit distance will be 1000.
Geo Blur Factor
The factor to deform the geometry width, depending on the distance to the camera defined in the Geo Width Range. The first value is at Close distance and the second value is at Far distance.
Geo Blur Radomize
Randomize the offsets so that the geometric patterns are even less recognizeable.
Geo Motion Blur
Deforms the geometry uniformly according to the past vertex motion data (motion vectors). Both, VelocityPV and TAA need to be enabled to visualize this effect.
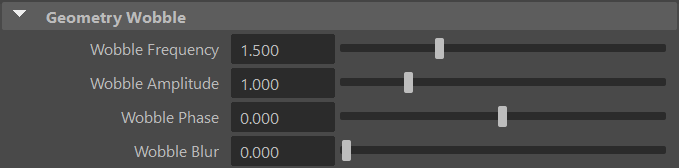
Geometry Wobble
Geometry wobble adds imperfections by deforming the geometry in 3D. Enabling this attribute will show the wobble controls in the globals node (see below) and the wobble widgets in the NoiseFX and VertexFX tools.
In case you can’t see the wobble effect, make sure Flair materials also have their wobble attribute enabled.
Once the wobble attribute has been enabled globally, material presets will default as wobbled.
Wobble Frequency
Defines the regularity of the effect. A higher frequency will make the wobble more “irregular”, whereas a lower frequency will make it more “regular”. The frequency is directly linked to the global World Scale.
Wobble Amplitude
Defines the amount of wobble. A higher amplitude will deform more than a lower amplitude. The amplitude is directly linked to the global World Scale.
Wobble Phase
Defines the form of the wobble. Useful when you want a different wobble deformation or want to vary the wobble on a frame-by-frame basis.
As wobble is generated from noise in 3D, make sure to toggle the deformed attribute in materials if they are animated/deformed so that the wobble is baked in place.
Wobble Blur
Defines the amount of wobble blur for each TAA sample, generating a soft edge by averaging different wobble positions. This was inspired by the “Painting with polygons” paper by Isaac Botkin.
TAA needs to be enabled to show this effect.
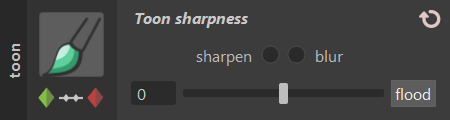
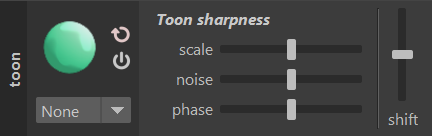
Toon Shading
Toon shading adds the ability to art-direct toon shading to sharpen or soften toon regions in different objects. When no materials in the scene are toon shaded, enabling Toon Shading will prompt the artist if Toon Shading should be enabled on every Flair material, as well.
Style
Style attributes contain the attributes of the currently loaded style. In the case of the figure above: watercolor.
These attributes allow to globally control the parameters the style and are documented below.
When using a custom Graph style, the style attributes will auto-populate depending on the Globals defined in the graph.
Canvas
Canvas attributes contain the attributes of the texture where paint is applied on, be it paper or canvas. Altering these attributes will affect all effects that depend on the canvas for its style.
Canvas Synthesis
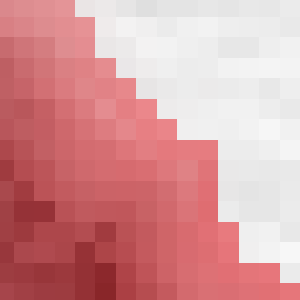
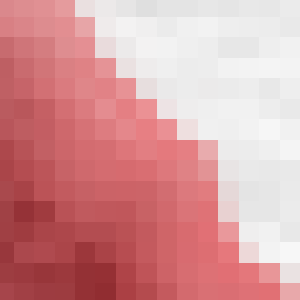
If an infinite canvas should be created from the given texture. Infinite canvases are completely seamless and can be generated from any heightmap texture within the textures folder of Flair.
Canvas Override
Flair 1.2
How much the Canvas Color should override (replace) the rendered color (beauty pass).
Canvas Distortion
Global amount of distortion caused by the Canvas Roughness.
Canvas Blend
Blending between the Canvas Texture (Main Canvas group) and the Canvas Texture Alt (Alternate Canvas group), allowing you to combine profile properties of different canvases.
Canvas Light Dir.
Side where the external light is shining from. 0 degrees is from the bottom, 90 degrees is from the left, 180 degrees from the top and 270 degrees is from the right.
The effect of this attribute can only be seen if Canvas Shading is more than 0.
Canvas Light Tilt
Tilt angle of the external light in relation to the canvas, 90 degrees is perpendicular to the canvas.
The effect of this attribute can only be seen if Canvas Shading is more than 0.
Canvas Position X
How much the canvas should be panned horizontally.
Canvas Position Y
How much the canvas should be panned vertically.
Advection
Advection attaches the canvas to the underlaying animation, reducing the shower door effect commonly known in non-photorealistic rendering when the canvas appears to float above the animation.
This group is closed by default, but can be opened by clicking on it.
Canvas Advection
Enables/Disables canvas advection in the scene.
Big amounts of motion will distort canvas-based effects. It is recommended to refresh the canvas with the Canvas Tile attribute once in a while to reset the texture or use Canvas Advection with Canvas Regeneration to attach the texture to the underlaying motion.
Canvas Regeneration
The speed of regeneration in seconds for distorted canvases.
Advection can only be seen if the VelocityPV attribute is checked and the animation is playing.
Main Canvas
Contains the attributes that define the main canvas texture of the style.
Canvas Texture
The main texture that is going to be used as the canvas. Flair comes with more than 10 different canvas heightmaps to choose from. You can load any heightmap, as long as they are in the textures folder within Flair.
The Canvas Synthesis attribute will automatically make an infinite canvas of any heightmap texture. Feel free to add your own textures and experiment with different canvas blends.
Canvas Color
The color of the canvas.
Canvas Scale
The linear scale of the canvas texture.
Canvas Rotation
The rotation in degrees of the canvas texture. The center of the viewport is used as the rotation pivot.
Canvas Roughness
The global roughness of the canvas.
Canvas Roughness will affect ALL canvas-based effects.
Canvas Shading
The amount of external diffuse shading of the canvas.
The shading is caused by the Canvas Light Dir and Canvas Light Tilt attributes.
Canvas Tile
Loads a new canvas tile at every round number i.e., 1.0, 2.0, 3.0.
Loading a new Canvas Tile will present a new texture pattern and reset every canvas-dependent effect.
Canvas Tile Blend
Enables to smoothly blend two canvas tiles. That means that the Canvas Tile attribute will smoothly blend the tiles e.g., a Canvas Tile attribute of 1.5 will be a blend of the tile at 1.0 and the tile at 2.0.
Alternate Canvas
Contains the attributes that control the alternate canvas texture of the style, for styles that make use of two canvas textures. Control of this canvas is independent from the main canvas.
This group is closed by default, but can be opened by clicking on it.
The attributes are the same as the main canvas: see above for the corresponding documentation.
The alternate canvas is used if the Canvas Blend option is not 0 or in styles that depend on more than one canvas e.g., Cutout.