Watercolor shader style
Table of contents
Style breakdown
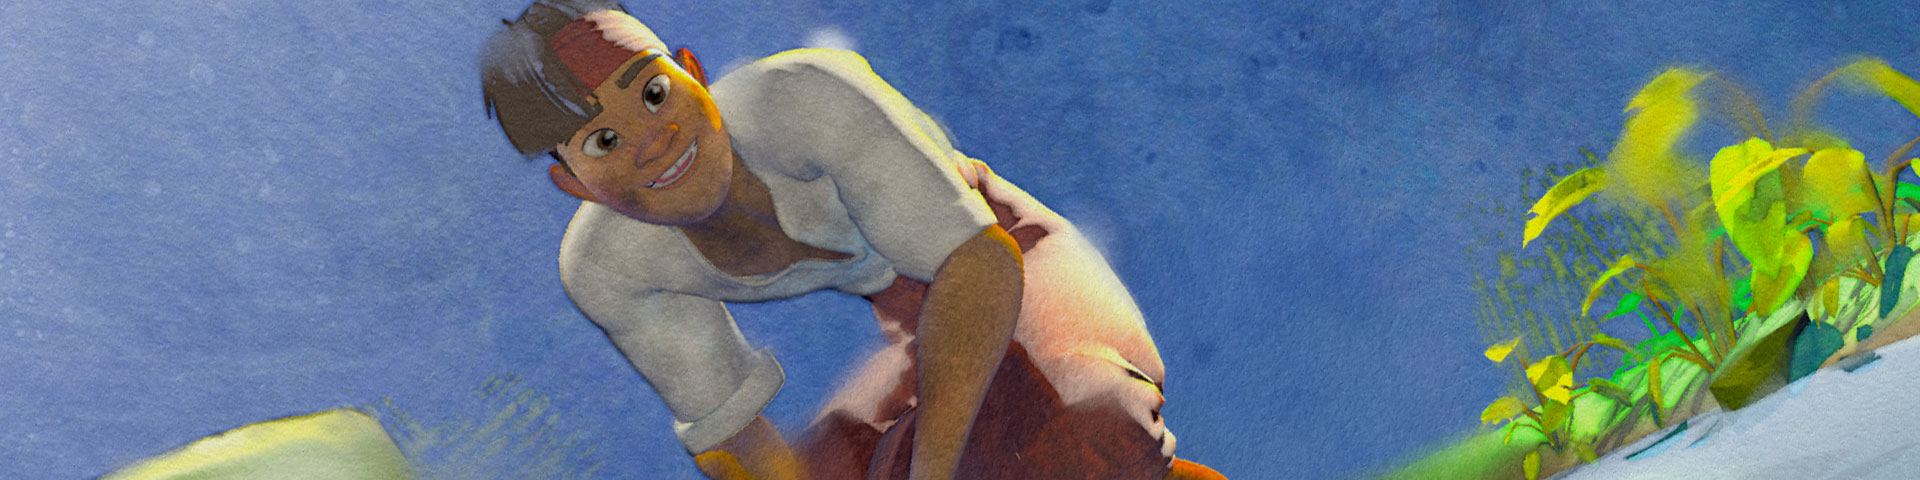
The watercolor shader style emulates traditional watercolor animation in 3D, providing art-directed control over most characteristic effects including color-bleeding, pigment turbulence, edge darkening and more.
This shader style depends on the Flair material, which can be assigned onto any mesh object. The material embeds painterly reflectance models and supports the art-direction framework of Flair. The framework allows to fully control the watercolor shader effects at each level of control, from the entire image using sliders to individual vertices.
The style is based on the award-winning PhD research of our founder, but each effect has been continously improved for production. While production-proven, the watercoolor shader style may not have all features that you need. So please let us know if we can help polish the look exactly to your requirements and pipeline.
In this page, we only document global attributes specific to the watercolor shader style. To learn more about other global attributes, please see the globals node documentation.
Attribute breakdown
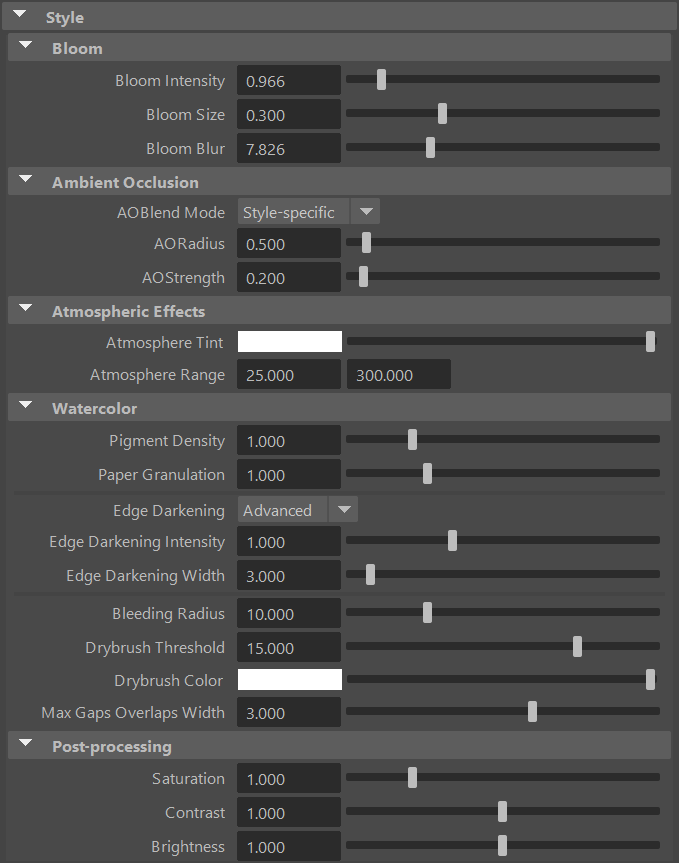
Bloom
Bloom, sometimes also referred to as Glow, leaks light from bright areas into surrounding areas. By enabling bloom globally, the following controls will appear in the globals node.
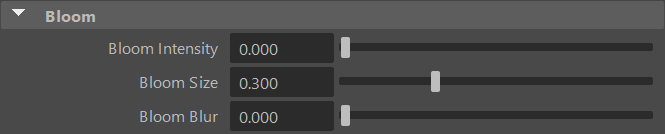
Bloom intensity
Defines the intensity/amount of the bloom effect.
Bloom size
Defines the threshold at which a pixel is bright enough to be considered for the bloom effect.
Bloom Blur
Defines the radious of light leakage to the surrounding areas.
Learn more about how bloom works by watching the clip below.
Ambient Occlusion
Ambient Occlusion (AO) darkens the image in areas that are hard to reach for the ambient light due to the local shape of the geometry (e.g. concavities, crevices, holes). Note that this effect depends only on the geometry (and the viewpoint, to a lesser extent), and not on the lights present in the scene.
Flair currently uses a screen-space implementation of ambient occlusion based on the Ground-Truth Ambient Occlusion algorithm (GTAO).
AO Blend Mode
Defines how the computed ambient occlusion is applied on the final image.
- None: AO is not applied.
- Multiply: the AO is multiplied over the image.
- Color Burn: same as above, except that the AO is blended over the image using the Color Burn blending mode.
- Style-specific: AO is applied by the current style, so the effect depends on the style implementation. (default)
- With styles other than the Graph styles, the AO modulates the pigment density, resulting in darker colors in occluded areas.
AO Radius
The radius used by the ambient occlusion filter: larger radius results in larger darkened areas.
AO Strength
The strength of ambient occlusion: higher values make the ambient occlusion darker.
Atmospheric Effects
Atmospheric effects are useful to add atmospheric depth to bigger scenes by changing the color within a specific range.
Atmosphere Tint
Defines a custom atmospheric perspective color, making things at distance tint towards the specified color.
Atmosphere Range
Defines the range at which the atmospheric tint will start and end. Set these values high to not have the atmosphere range affecting your scene.
If you wish to exclude an object from the atmosphere tint affect (e.g., a background plane), enable the Final Color attribute in the Flair shader material assigned to that object.
The range is set for Maya units multiplied by the World Scale, consider this when setting up this attribute.
Watercolor
Pigment Density
The concentration of pigments, giving the render either a diluted or a more saturated and darker look.
Paper Granulation
The accumulation of pigments on the valleys of the paper (canvas). Concentrates the pigments on the valleys and creates a more saturated and darker look.
Edge Darkening
Edge darkening accumulates the pigments (color) gradually towards the edges, generating darker edges.
- Simple - Simple control over edges defined by the colors and depth.
- Advanced - Advanced control over edges defined by lightness, chromacity and depth. We recommend working with this for better results.
Edge Darkening Intensity
Strength of the edge darkening effect. A higher intensity will concentrate more color on the edges.
Edge Darkening Width
Width for the edge darkening effect.
Note: A wider edge darkening will require an increase in intensity, as well.
Bleeding Radius
Maximum width for the bleeding effect. Pushing this too far might affect performance.
Drybrush Threshold
Sharpness of the drybrush application. Using a dry brush will only apply pigments to the peaks of the canvas, leaving the canvas color appear at the valleys of its profile.
Drybrush color
Color of the drybrush application.
Max Gaps Overlaps Width
Maximum width of the gaps & overlaps effect.
Post Processing
Post Processing attributes contain simple but useful self-explanatory post-processing filters
- Saturation
- Contrast
- Brightness
This group is closed by default, but can be opened by clicking on it.
Art-directable Attributes
Attributes labeled as art-directable can be controlled further with NoiseFX, VertexFX and proxy materials.