Flair toolbox
Table of contents
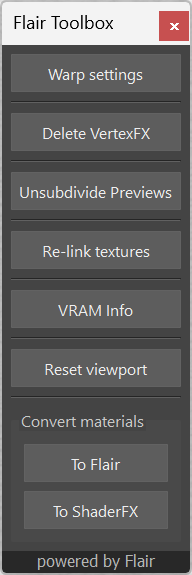
The Flair toolbox is a handy collection of style-specific and miscellaneous tools opened by clicking on the TBOX shelf icon.
Warp Settings
Clicking on the Warp Settings button opens the Warp Settings window, giving additional warp effect options.
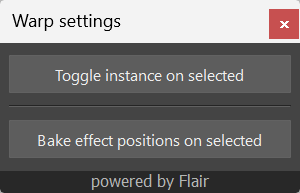
Toggle instance on selected
This button will toggle the inflated instance which generates the warp effect on/off, thereby also enabling and disabling the effect. This is especially useful for transparent objects that should not drive the warped effect.
Bake effect position on selected
This button will automatically check the Animated attribute in materials assigned to the selected objects. Doing this will keep the warped effect in-place under animation.
Unsubdivide Previews
Unsubdivide Previews can be useful in a various situations where you need to work with unsubdivided meshes.
- When advecting (attaching) the canvas to the underlaying motion to correctly advect the canvas to the underlaying motion.
- For performance and stability issues on computers running with integrated graphics
To use it, simply select the objects from which you’d like to unsubdivide and click on the Unsubdivide Previews button.
If nothing is selected, the tool will try to unsubdivide ALL meshes/shapes in the scene.
Re-link textures
Re-link textures opens up a file-dialog to select a folder in which to locate textures that are missing. When opening scenes that were stylized by someone else or from another computer, the texture paths within Flair materials might not be the same anymore. This button automatically re-links all existing textures from a specific directory with the click of a button.
The new image paths will be relative to the Maya project or absolute if outside of the Maya project’s folder.
VRAM Info
Prints out details of the current Video Ram (VRAM) usage in Maya’s Script Editor.
Reset Viewport
Resets the viewport in case you are encountering glitching issues.
Sanitize Flair
Flair 1.2
Unloads the plugin and tries to remove all traces of Flair from the open scene. This is not undoable so a confirmation dialog will appear before it happens.
Convert Materials
These buttons can quickly and automatically convert Maya materials to Flair or ShaderFX materials, inheriting attributes and textures. This is especially useful for quickly loading existing Maya scenes and seeing how they render in Flair.
You can learn how this works in the Convert Materials docs.