Node Graph
Table of contents
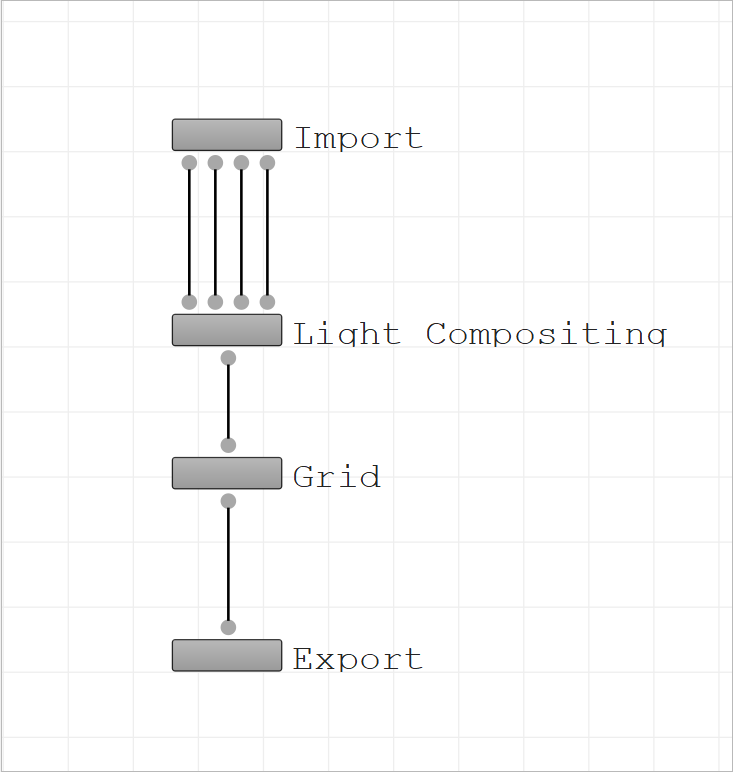
The node graph is the central node interface defining the shader pipeline. You can consider it the “document” where the shader pipeline is “written” with nodes. In this panel, you can create nodes, select them to modify their properties and connect them to each other to build an image-processing shader pipeline.
This page covers how to use the Node Graph and lists the nodes that can be created within.

Graph navigation
Panning
- Middle mouse click and drag to pan around the graph
Zooming
- Scroll wheel of the mouse
- Right mouse click and drag
Creating nodes
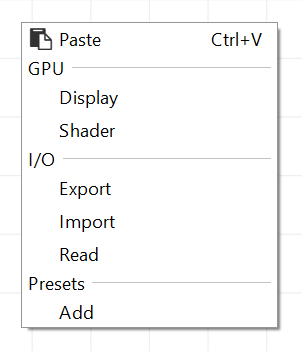
Nodes can be created by right-clicking anywhere on the grid and selecting an option from the context menu.

Interacting with nodes
Nodes can be selected by left-clicking on them and moved around by left-click-dragging them around. Multiple nodes can also be selected to be moved together either by left-click-dragging a marquee around them or by selecting more nodes with Ctrl pressed.
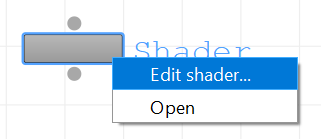
When an individual node is selected, its parameters will be shown in the Parameters panel. These parameters can be changed anytime for any node. Additional options for each node are available in their own context menu, which can be accessed by right-clicking on the node.

Connecting nodes
Node plugs are used to connect the nodes with each other. Left-click on a plug to trigger the connection and click again on the plug you want to connect to.
Connections cannot be deleted, but can be overriden by new connections.
Types of nodes
Multiple types of nodes can be used in Flair graphs with their unique uses.
Additional node presets are available, which can automatically insert and set one or more nodes in the graph. You can learn more about it in the Graph Presets documentation.
